Preparing your house or other structure for repainting is essential to achieving a smooth, clean surface to which the paint will adhere properly for an even appearance and long service life. For homes that have several layers of exterior paint that’s cracking, peeling and gatoring, slapping on another coat of paint is counterproductive. And removing the old paint manually through scrapping just isn’t practical. In such a situation, sandblasting – also known as abrasive blasting – is the only solution.
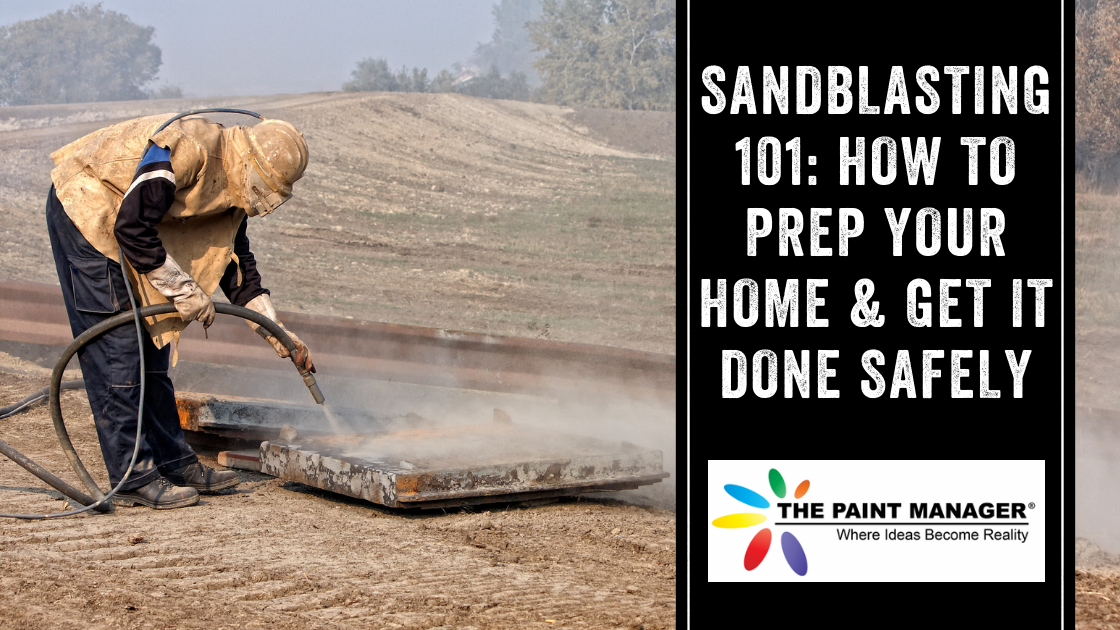
Sandblasting is the process of forcibly propelling a stream of abrasive material against a surface under high pressure to clean, smoothen, or roughen up a surface. The common name is actually a misnomer, as many types of materials can be used. While some homeowners try to go the DIY route, this is really one job that should be left to the pros, as it poses serious health hazards for amateurs – who aren’t likely to own the proper protective gear or know proper technique.
However, we’re aware of professional or aspiring house flippers who have good hands-on skills out of necessity. The properties on which you can get a good deal typically aren’t in great condition. Here’s a basic guide to economical sandblasting that keeps safety front and center.
The cost of sandblasting a house
Cost varies, depending on the size of the project, construction material of the structure and abrasive material used. The cost of the sandblasting project increases with the increase in the size of the area and the increase in the difficulty to remove the material.
Safety considerations
While many other abrasive materials are now used, silica sand remains popular. Silica is a mineral compound called silicon dioxide which is in crystalline or amorphous form. Crystalline silica is hazardous to health. It is usually found in quartz, but also found in substances like tridymite, cristobalite and tripoli. Inhaling crystalline silica dust can cause silicosis and various other diseases.
In 2016, the Occupational Safety and Health Administration (OSHA) issued a directive to control exposure to respirable crystalline silica. The rule comprises of two standards – one for Construction Code of Federal Regulations and the other for General Industry and Maritime.
For respiratory protection, wear a respirator approved by the National Institute for Occupational Safety and Health (NIOSH). This should cover the head, neck and shoulders.
Other protective gear should include the following:
- Protective helmet
- Protective clothing, including gloves
- Safety shoes or boots
- Ear protection
How to prep your home for sandblasting
Many Central Florida homes are concrete block construction – known in the trade as concrete masonry units (CMUs). Concrete block homes may be painted or stuccoed over. Test-blast a small area before proceeding. The type of paint (ordinary latex or elastomeric paint) and the number of coats will determine how difficult it is to remove. The closer and longer you blast the block, the more cement and aggregate you are likely to take off from the surface.
You need to be careful when it comes to the mortar between the block, particularly the vertical joints which are also called head joints. The mortar can blow out, which creates openings called bee holes. These openings act as entry points for insects and water. Patch these holes with fresh mortar, which is known as tuck pointing. Professionals are recommended to do this job, as staining and an imperfect appearance can result when improperly done.
To protect windows, cover them properly. Masking tape and red and grey tape are not usually the right option. Experts recommend using clear six mil plastic sheeting to cover windows. Use one sheet per window, double tape it continuously all around. Cover all doors that are not to be sandblasted to protect them from debris.
Also, make sure that you don’t blast stucco or CMU dry. Also ensure that you don’t sandblast a surface if there is a chance that there is asbestos or lead in it. If there’s a question about this, have the paint tested. If so, it definitely will necessitate removal by a professional.
You should also use a high-pressure sprayer, not just the hose, after sandblasting to remove sand and masonry grit. You also most likely will have to clean up the wet abrasive material around the area where sandblasting is done.
As we said at the beginning, if you’re not an ambitious house flipper or DIY-seasoned homeowner, sandblasting is best left to those with the experience, skills and equipment.
Our pros at The Paint Manager can carry out sandblasting efficiently and safely. Contact us to learn more.