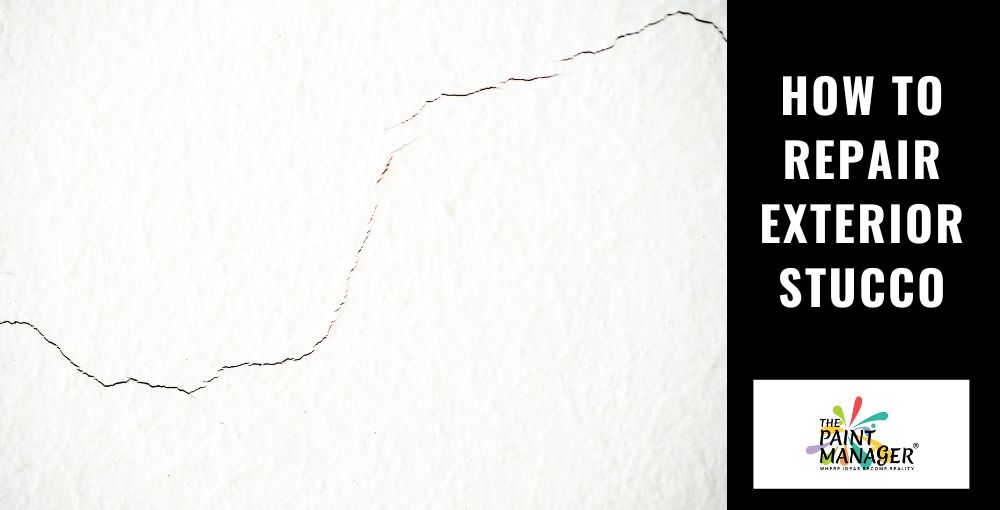
Homes with stucco exteriors are popular in Central Florida for the upscale image and curb appeal they provide. Whether stucco is used in new residential construction, or in a remodeling project to cover concrete block, however, it can be prone to cracking. While homeowners typically consider this an aesthetic issue, cracks in stucco can cause serious structural problems, depending upon the construction material over which it’s applied.
But first, what exactly is stucco?
Stucco is a cement-type mixture made of Portland cement, sand, lime and water. It is a thin finish coat that goes on the outermost layer of residential and commercial constructions. Stucco is applied wet and hardens to a very dense solid. Understanding the factors that cause stucco to crack and how repairs can best be made will help you determine whether you can do the job yourself, or need to call a professional.
What Causes Cracks in Stucco?
In his article for Daily Commercial, Don Magruder – CEO of Ro-Mac Lumber & Supply, Inc. – explains the most common causes of cracks in stucco.
“There are two basic stucco applications used in Florida. A standard stucco application consists of using a weather-resistive barrier with a metal lath that is attached to the substrate of the building, then applying three coats of masonry stucco cement: A 3/8-inch scratch coat, followed by a 3/8-inch brown coat and a 1/8-inch finish coat.
“A cementitious stucco application refers to masonry stucco cement being applied directly over masonry block at a thickness typically of 3/8 to 1/2 inch. Because the cement is applied directly to concrete blocks of the home, it is common to see the block lines in the walls.”
This basically means that stucco exteriors are very likely to develop cracks.
“The primary ingredient in stucco is Portland cement,” Magruder writes. “There are three things in life that are certain: Death, taxes and that cement will crack. The main cause of stucco cracking in Central Florida is where and how the cement is used – it’s a design issue. Most of the problems are in two-story homes with a masonry block first floor and a second story built of wood. Because of the flexing and expansion of wood in the second story, the stucco cracks. Unless a building is painted and maintained with a very good elastomeric paint and openings are kept caulked, there can be water intrusion.”
Another major cause for second-story stucco failures is poor door and window installations. Design flaws such as very short roof overhangs and the failure to use proper drip caps over windows and doors can exacerbate moisture running down a two-story home.
According to Waypoint Property Inspection, “In the case of a wood-framed home, water can enter those cracks which rust the metal lathe, and when the metal rusts, it expands so it can pop stucco off your home. Not to mention, continuous water entry through stucco cracks can find its way through the underlayment and rot out a wood-framed home. If stucco is popping off your home, the stucco will need to be removed and replaced by a licensed professional.”
In the case of stucco applied directly to concrete block, water can enter through cracks and the cement soaks up the water just like a driveway or sidewalk. Then, you have the potential for water intrusion in your home.
What to Do and Not to Do in Repairing Stucco
Small, thin cracks (a.k.a. hairline cracks) – especially those occurring in stucco over concrete block – can be repaired with exterior latex paintable caulk. Choose a caulk color that is close to your stucco color. Touch up the caulked area with an exterior paint that matches your house color. If you have paint left over from your last exterior paint job and it’s still in date, all the better. Follow the caulking tips from True Value below for the best results:
- Use a utility knife to cut the nozzle of the caulk at a 45-degree angle, and place the caulk in a caulking gun. Puncture the internal foil patch at the base of the nozzle with a nail or other slender sharp object.
- Hold the caulking gun at a 45-degree angle parallel to the crack being filled and pull the nozzle along the crack. Don’t push it. Position the nozzle opening so that it forces sealant onto the crack.
- As you finish applying each bead of caulk, release the trigger and pull back on the caulking gun rod to stop the flow of caulk and relieve the pressure inside the tube. Releasing the trigger alone will not stop the caulk from flowing out of the nozzle.
- Let the caulk set for the manufacturer-recommended amount of time.
To repair stucco applied over a weather-resistive barrier with a metal lath attached to the substrate of the house, Don’s Bay Area Painting provides the following step-by-step instructions:
- Make the stucco crack bigger. Although it seems counter-intuitive, you’ll probably need to make the crack wider. It should be at least a quarter inch wide throughout the length of the crack. You might need to carefully chisel the edges of each crack so that they are beveled evenly.
- Brush away any loose stucco. If any of the stucco is crumbling, you’ll need to use a brush to remove it gently before you can fix the cracks. Be gentle and work slowly using a brush so you don’t cause more breakage.
- Mix the right stucco crack repair formula for the job. Choosing the right stucco repair materials for the job is critical. Interior stucco is different from exterior. Different surfaces require different mixes, as well. If you get the wrong stucco, you’ll end up with obvious lines showing where you ‘repaired’ the cracks.
- Apply the new stucco into the cracks. Work slowly enough to be neat, but quickly enough to keep your material wet enough to use. If you’re repairing stucco cracks that are narrow, you may be able to work with a caulk gun – if you can get the nozzle tip small enough to fit in the crack. You want the stucco repair material to go deep into that crevice.
- If you’re working on a stucco crack that’s more suited to a putty knife or trowel, spread the material onto the area to be patched, then add texture to match the rest of the wall. If you want a smooth look, you can wet your trowel. Either way, it’s better to apply thin layers as you work rather than slopping it on all at once. Allow each layer you apply to dry before adding another layer.
There are two major mistakes to avoid at all costs:
Not cleaning the stucco first – If you don’t, your repaired stucco cracks will only become way more visible than they were. Picture white lines snaking up the side of your beige, buff, or gray house. Not the result you want at all. Power washing is best.
Getting too enthusiastic while removing the old stucco – This can cause more damage in the process. In fact, it’s possible that the old stucco has bonded to the surface of your structure, and you could end up pulling entire chunks of your wall off if you’re not careful.
After the cracks are repaired and the stucco cures, you may want to take the opportunity to repaint the entire exterior of your house. This will completely cover any evidence of the repairs, as well as help protect against future cracking if you use a high-quality elastomeric paint.
Should You Do It Yourself or Hire a Pro?
Beyond dealing with hairline cracks – which mainly requires cleaning the cracks then filling with an elastomeric caulk, and painting the area to match the color of your house – we strongly recommend you hire a professional. Some people may feel confident enough to use a hammer and chisel to make a crack larger, but it’s a recipe for disaster for most homeowners. Also, as Waypoint Property Inspection notes, situations in which stucco falls off the house requires the stucco to be removed and replaced by a licensed professional.
We provided DIY instructions to give you the complete breakdown of the work involved so you can determine if this is a project you can successfully accomplish. As always, we urge you to be honest with yourself about your experience, skill level and physical strength before attempting any type of extensive home repair or improvement project. And don’t rely on YouTube videos to learn how. As our blog post – “Hire a Handyman This Year! Here Are The Advantages!” – covers, they can give false encouragement to inexperienced homeowners by making it look easy.
The Paint Manager offers experienced, professional stucco repair. Our team has been proudly serving Central Florida homeowners for over 20 years with services that include exterior and interior house painting, roof repair and cleaning, drywall repair, popcorn ceiling texture removal, cabinet refinishing and so much more!
Plus, become a member of The Paint Manager to receive a 15% year-‘round member’s discount. Contact us to learn more about our services and membership discount offer. We look forward to meeting you!